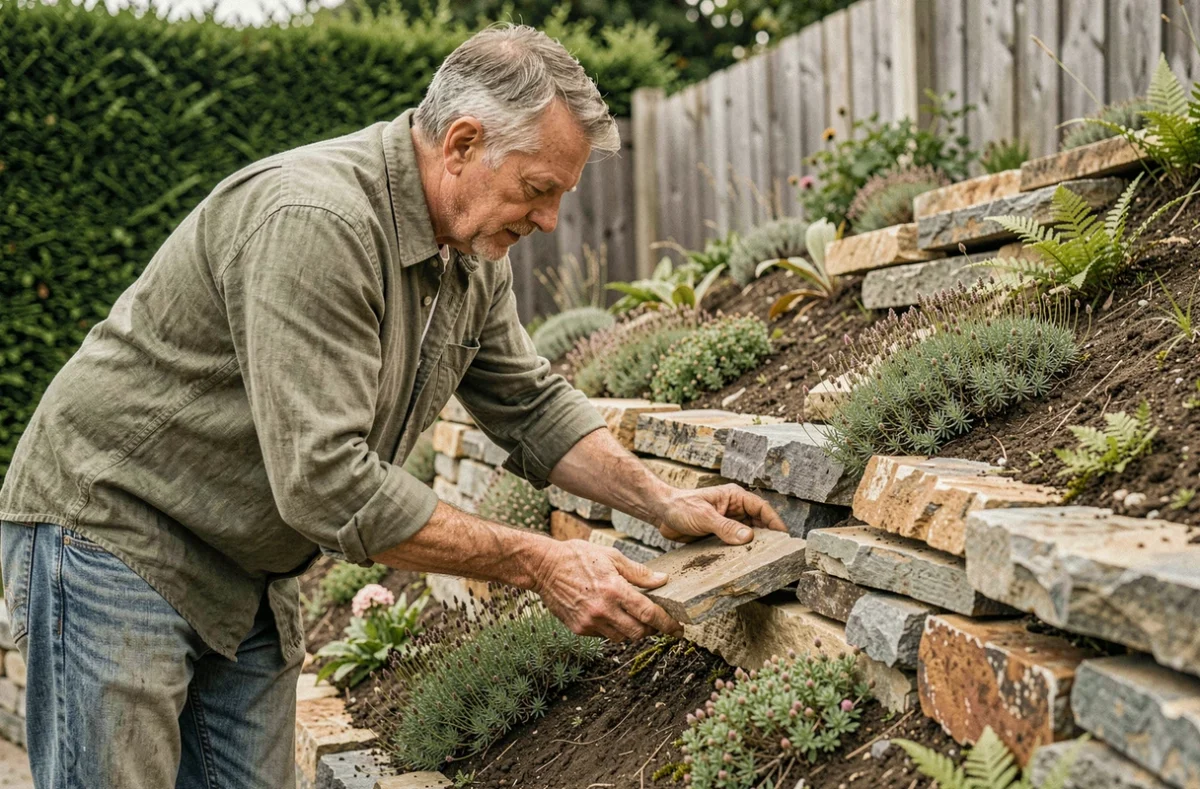
A stone retaining slope is a structure that holds back and stabilizes sloping ground using an arrangement of natural stone blocks. Unlike a simple decorative low wall, it serves to retain soil: its design must account for soil pressure, water flow and ground conditions from the outset. Building a stone retaining slope in a garden therefore means addressing the structure and drainage together, not one after the other.
Stone retaining slopes and planning regulations: what to check before digging
Most guides skip this step, but it determines everything that follows. A stone structure that holds back soil is legally considered a retaining wall. Planning requirements do not depend solely on the wall’s height: the structure’s actual purpose, the volume of associated earthworks and local planning rules also come into play.
One point that is often overlooked: the wall and the earthworks may be subject to separate rules. An exemption that applies to a retaining wall does not mean that the associated excavation or raising of ground level is exempt from declaration. Similarly, adding a fence on top of the wall may change the required procedure.
Properties in protected areas (within the perimeter of a historic monument or in a designated site) may be subject to additional requirements. The most reliable approach is to contact your local planning department before starting work and describe the project in detail: planned height, length and volume of soil to be moved.
Before building a stone retaining slope in your garden, this administrative check can prevent costly delays once work is underway.
Choosing stones and building the foundation: laying the groundwork for a stable slope
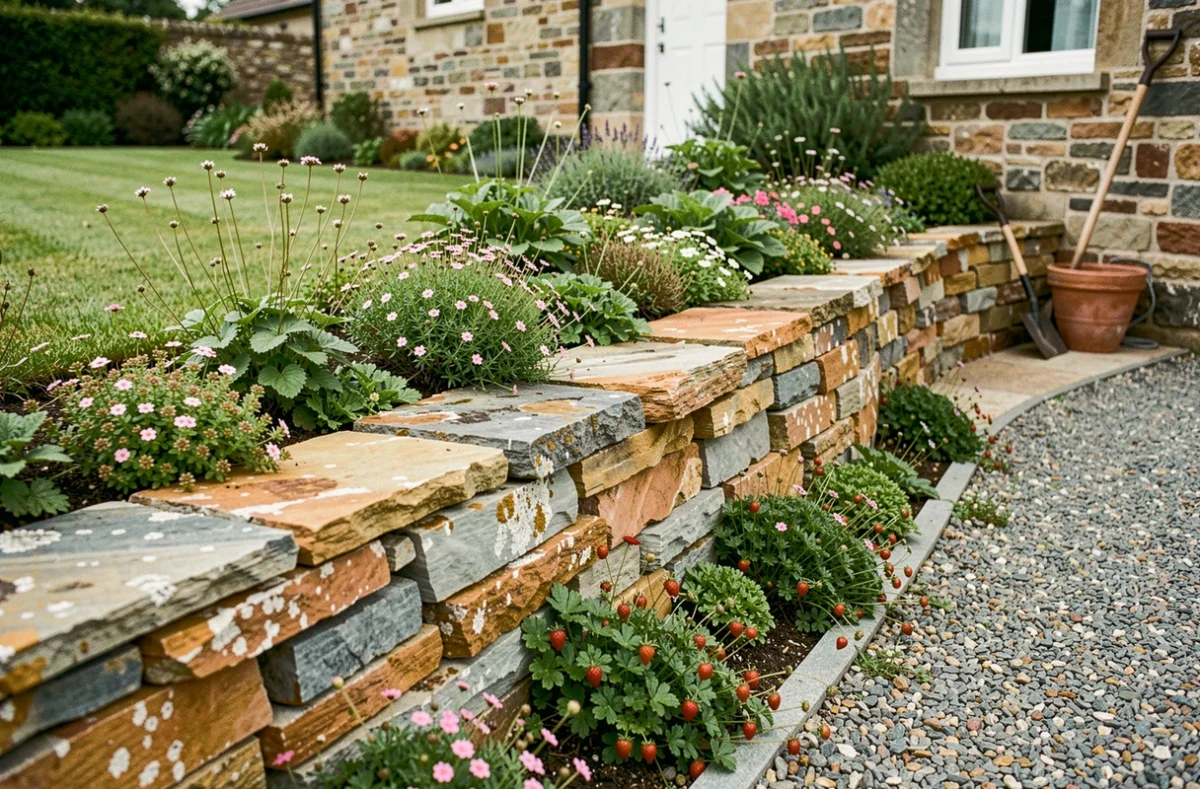
The type of stone directly affects the structure’s durability. Local stone offers two advantages: it blends into the garden’s natural landscape, and its resistance to the regional climate is well established. Limestone, sandstone, schist and granite are the most common types, depending on the region.
What to look for when choosing stones
- Shape: irregular but relatively flat blocks fit together better and provide a more stable base than a pile of rounded stones
- Density: heavier stones better resist soil pressure, reducing the risk of the wall tipping over
- Source: a local quarry reduces transport costs and ensures the stone is compatible with the existing soil
The foundation is the structure’s unseen base. It involves digging a trench at the foot of the slope, wider than the wall’s thickness, then filling it with compacted gravel. Without a free-draining foundation, standing water can destabilize the first courses within just a few seasons.
The trench depth depends on the intended finished height and the type of soil. Clay soil, which swells when damp, requires a deeper foundation than naturally free-draining sandy soil.
Drainage behind the stone retaining wall
Drainage is not an optional extra: it prevents the structure from giving way under water pressure. When it rains, water seeps into the soil and builds up behind the wall. This hydrostatic pressure can exceed the pressure exerted by the soil itself and cause the wall to collapse.
The standard solution is to place a layer of gravel between the backfill and the rear of the wall, along its entire height. This drainage layer channels water downward, where a perforated drain (a pipe wrapped in geotextile) carries it away to the side or to an outlet.
Two common mistakes can compromise drainage:
- Using fine soil instead of gravel to fill the space behind the wall, which clogs the system within a few months
- Leaving out the geotextile between the topsoil and gravel, allowing fine particles to migrate into the drainage layer
- Failing to provide an outlet for the drain, turning the base of the wall into a reservoir
Building a stone retaining slope: laying the stones course by course
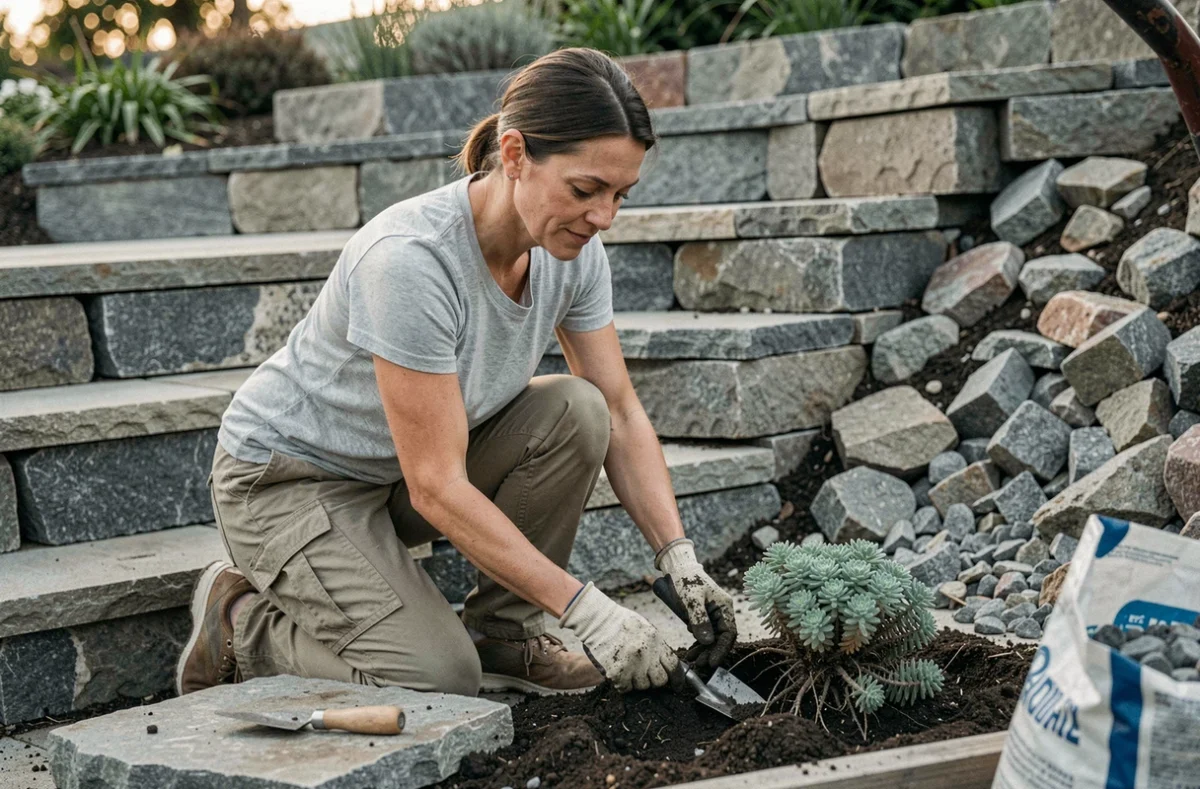
Construction starts with the largest blocks, laid in a staggered pattern on the foundation. Each higher course is set slightly farther back into the slope, creating a batter (a natural backward lean) that uses the weight of the soil to press the stones together.
In a dry-stone wall, the stones are fitted together without mortar; for a mortared structure, lime mortar is used. Dry-stone construction allows water to drain through the joints, reducing pressure behind the wall. A mortared structure is more rigid but requires impeccable drainage, since water can no longer escape through the gaps.
Each block must touch at least two blocks in the course below. Vertical joints should never line up from one row to the next: this staggered arrangement, known as bonding, distributes stress and prevents weak lines from forming.
Planting a stone retaining slope: plants suited to sloping ground
Once the structure is in place, planting helps stabilize the soil above and around the wall while improving its appearance. Deep-rooted ground-cover plants are best suited to the job: their root systems hold the soil where the stone does not cover it.
At the top of the slope, where the soil dries out quickly, sedums, aubrietas and rockroses tolerate drought and the heat reflected by the stone. At the bottom, where moisture collects, hardy geraniums and periwinkles thrive without additional watering.
Planting between the stones of a dry-stone wall strengthens the structure. Small perennials such as houseleeks and Kenilworth ivy take root in the gaps and help bind the joints with their roots. Mineral mulch (gravel or crushed slate) around the plants limits surface erosion and retains soil moisture without trapping water against the wall.
Maintenance involves pruning the plants once a year to prevent overly vigorous roots from destabilizing the blocks, and checking the drain after every spell of heavy rain. A well-designed stone retaining slope, properly drained and planted with species suited to the gradient and exposure, can remain stable for decades without major work.